Introduction
This page provides an overview of the structure of projects and the basics of Jenkins.
Creating a Project
To get started, create a project in Anvil - you can do this from the homepage once you are logged in. Your project will need to be approved by a staff member, so please add a brief description of the project's purpose. After approval, your project will automatically be loaded onto Jenkins - you will not be able to configure your project in Jenkins before it is approved.
Job Hierarchy
To use Jenkins in Anvil the most important step is to understand the hierarchy of projects, jobs and builds. The diagram below gives a basic overview:
    Project 1
       -- Job1
          -- Build 1
          -- Build 2
       -- Job2
          -- Build 1
       -- Subfolder
          -- Job1
             -- Build 1
    Project 2
       -- Job 1
As an example, let's say Project1 is based on a Git repository with a
number of development branches. Each job can be used to build
different parts of the repository - for example, Job1 could be a 'dev
build' which builds all branches, while Job2 could be a 'master build'
which builds only the master branch.
A subfolder could be used to store a number of related but independent builds; for example, if multiple features are in development simultaneously, a 'New Features' subfolder could store jobs for the branches related to each indvidual feature.
Stored by each job is a history of its builds - this includes their status and their console output.
The jobs within a project are highly customisable, and can integrate with a number of different source code management tools.
Viewing Jobs & Builds
In Anvil, jobs are organised so that at the top level there is one folder of jobs per project, as shown below. The weather display gives a hint as to the current state of its jobs.
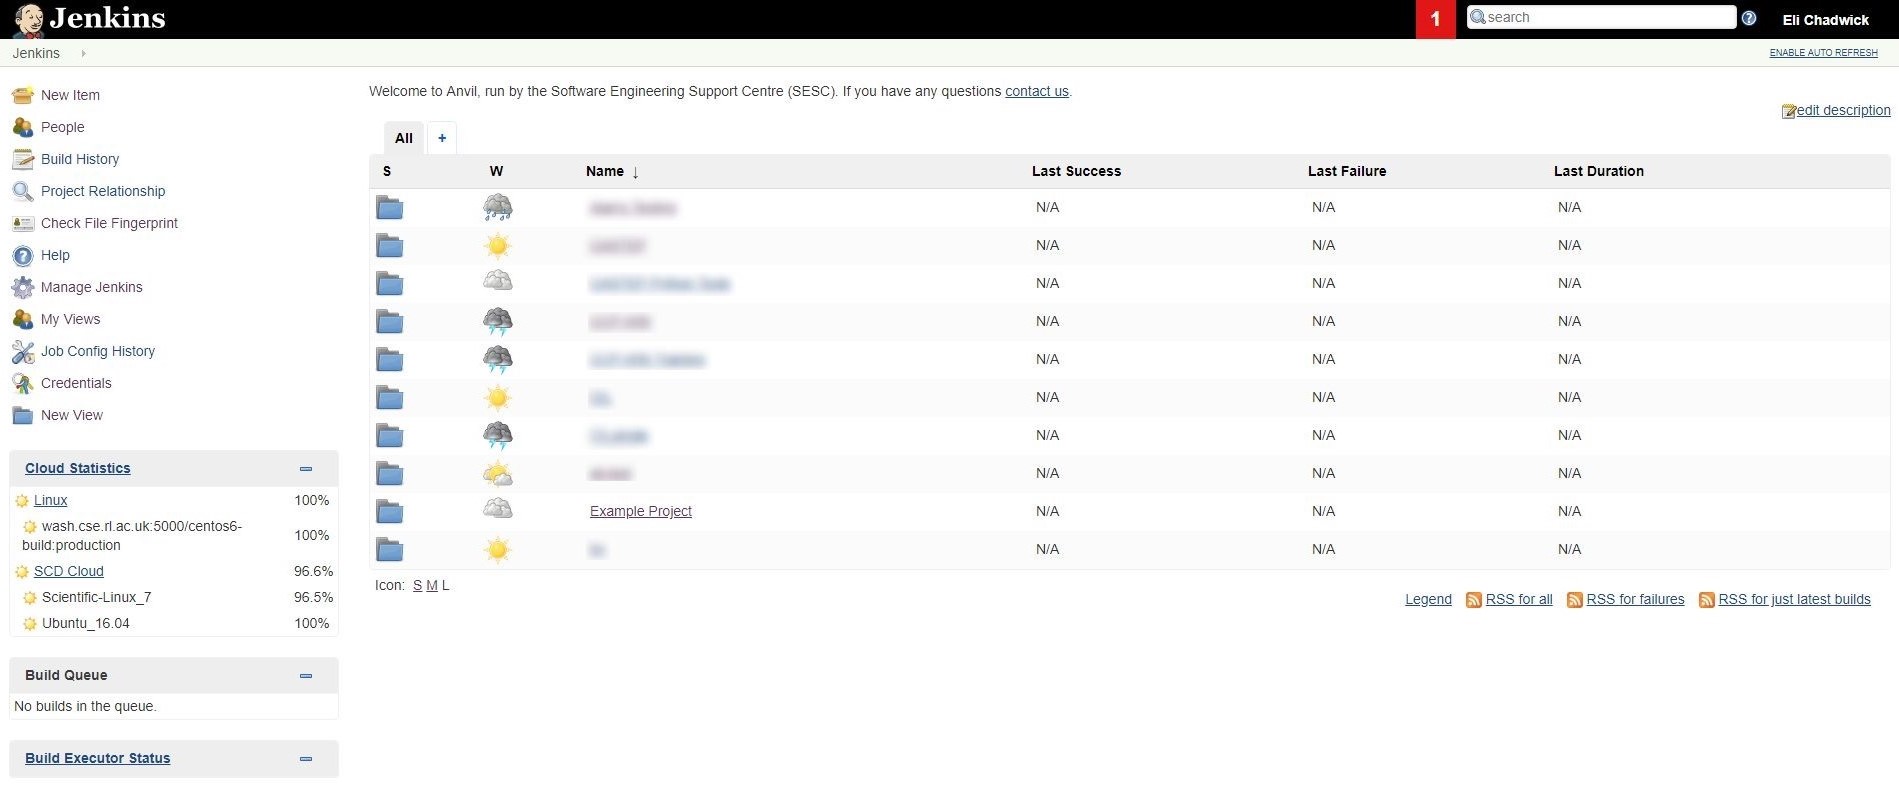
Anvil front page
Within each project folder there is a listing of build jobs and additional folders. Each job shows its current state (the coloured orb) and its recent history (the weather display - this corresponds to how many of the 5 most recent builds were successful). In the case of folders, the weather displayed is that of the worst of its subjobs.
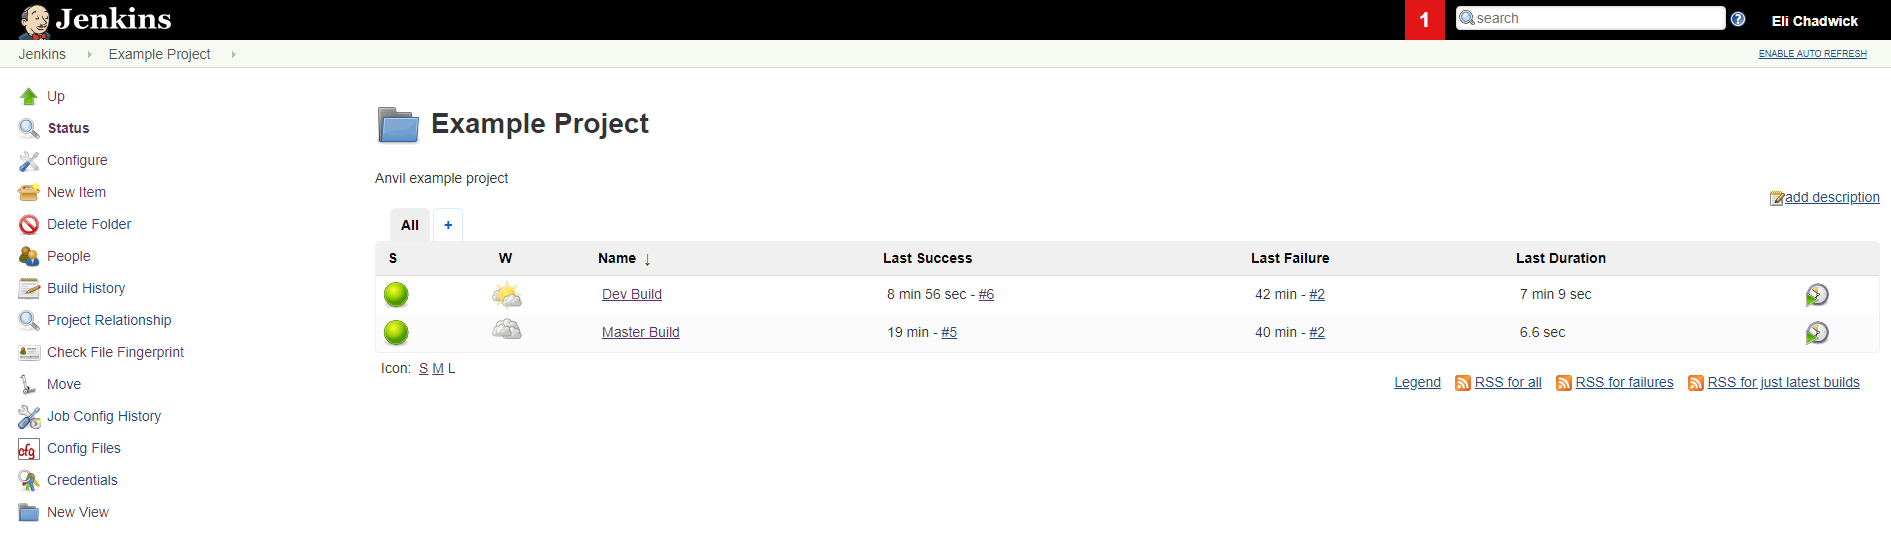
Project job list
Each job has its own front page. From the front page there are links to the individual builds, as well as configuration and build outputs.
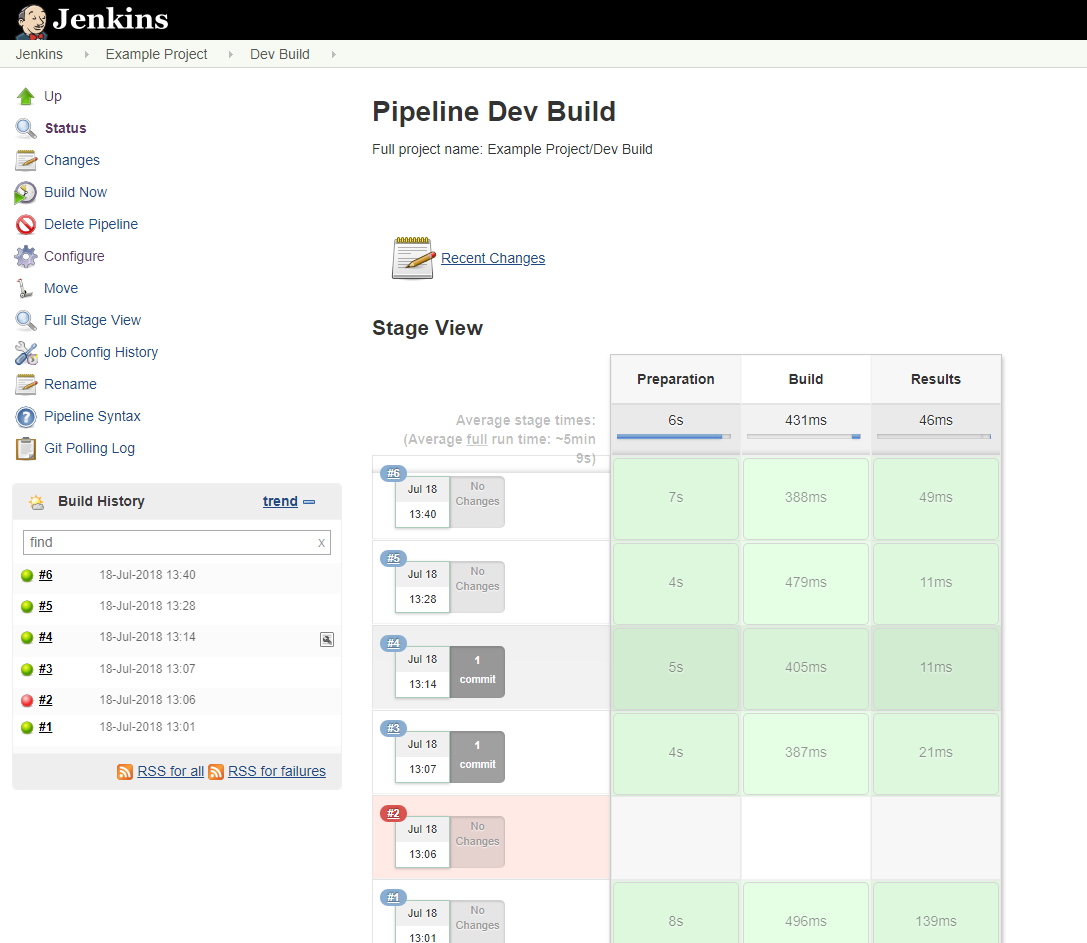
Project front page
Each build displays a variety of build information on its build page. If available, any artifacts will be included. The Console Output link in the sidebar shows the output of the job itself.

Job build page
Running Jobs
To build a job, select the Build Now option from the sidebar. The job will be added to the build queue and executed when there are resources available. In the case that the build requires some parameters to run, the option will be called Build with parameters. You can see the state of the build in the Build History box. Clicking on a running job allows you to see the live console output.